

Every beardsman faces the same frustration: uneven length, wild flyaways, and stubborn patches that refuse to blend. You invest hours nurturing growth, applying oils, brushing daily-yet your beard still looks unkempt the moment you step outside. Electric trimmers deliver blunt, one-size-fits-all results, whilst razors strip away months of progress. The missing piece in your grooming arsenal? A pair of precision beard grooming scissors that respond to your hand like an extension of your craft.
The Problem: Why Most Beard Trimmers Fall Short
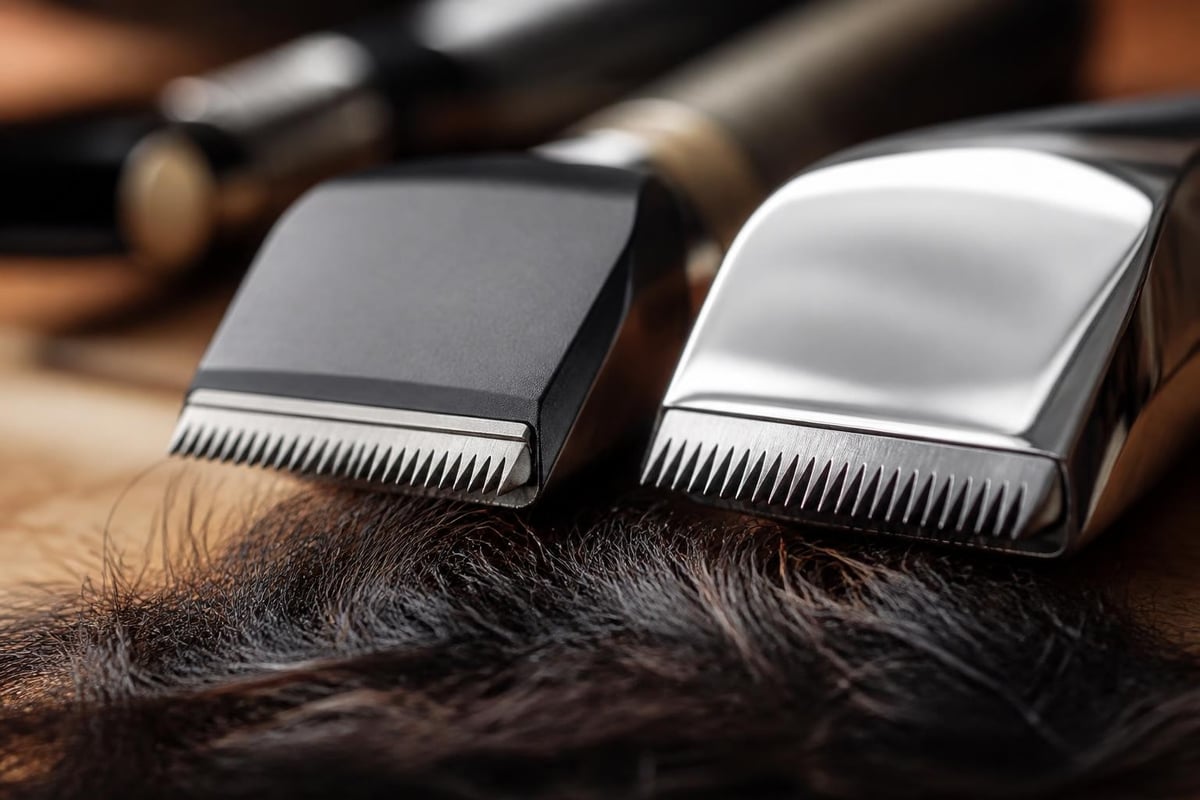
Electric trimmers promise speed but sacrifice control. They vibrate, skip hairs, and create harsh lines that scream "amateur hour." You end up removing too much length in one pass, then scrambling to fix the damage. The guard combs that manufacturers include rarely match the natural contours of your jaw or the density variations across your beard.
Uneven Growth Patterns Demand Precision Tools
Your beard grows in multiple directions. The moustache flows downward, whilst cheek hair angles toward the ear. Chin whiskers spiral, neck hair curls back-each zone requires a different approach. Research on facial hair characteristics demonstrates that contamination risks increase when grooming tools cannot navigate these complex growth patterns without tugging or repeated passes.
Trimmers force you into their grid. Beard grooming scissors adapt to yours.
The consequences of using the wrong tool include:
- Patchy spots where guards caught and removed entire sections
- Split ends from dull clipper blades crushing hair shafts
- Skin irritation when vibrating metal drags across sensitive areas beneath the beard
- Wasted product-oils and balms cannot rescue a poorly shaped foundation
The Agitation: What Poor Scissor Choice Costs You
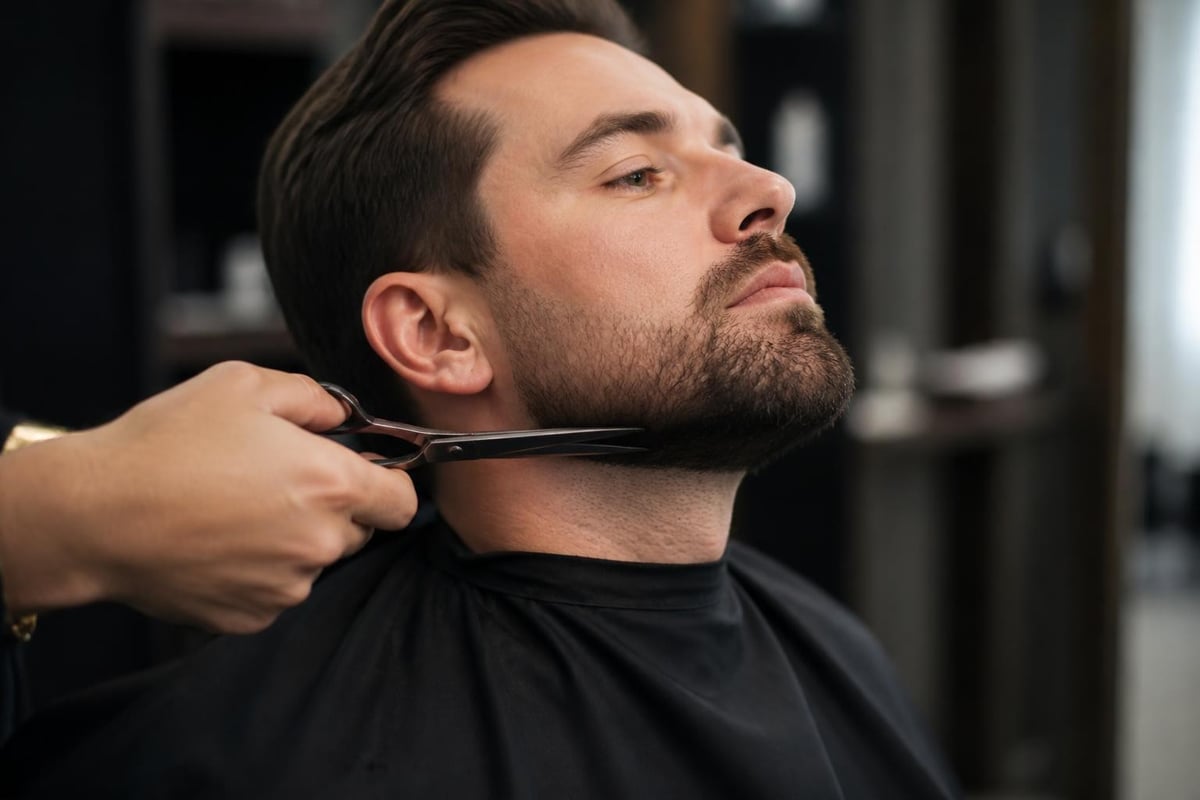
You purchased scissors from a chemist shelf, assuming any pair would suffice. Within three cuts, you felt the blades catch. By the tenth snip, you'd created a diagonal line across your cheek that will take six weeks to grow out. Now you're wearing a hat indoors, avoiding video calls, and regretting the £8.99 investment that destroyed your confidence.
Cheap scissors lack the metallurgical precision required for clean cuts. The blade gap widens with each use, forcing you to squeeze harder. This pressure transfers through your thumb into your wrist, creating repetitive strain. Ergonomic studies on scissor design confirm that poorly balanced handles increase muscle activity in the forearm by 34%, whilst asymmetric thumb rings elevate wrist deviation beyond safe thresholds.
The Hidden Damage of Low-Quality Steel
Inexpensive scissors use 420-grade stainless steel-a soft alloy that dulls after twenty cuts through coarse beard hair. Each subsequent snip folds the hair shaft rather than severing it cleanly. You don't see the microscopic damage immediately, but within days, those crushed ends fray into split tips that catch light, appear grey, and feel rough against your palm.
| Steel Type | Hardness (HRC) | Edge Retention | Corrosion Resistance | Typical Use |
|---|---|---|---|---|
| 420 Stainless | 52-56 | Poor | Good | Disposable scissors |
| 440C Stainless | 56-58 | Moderate | Excellent | Mid-range shears |
| VG10 Japanese | 60-62 | High | Excellent | Professional barber scissors |
| M390 Microclean | 60-62 | Exceptional | Superior | Surgical/Premium grooming |
Premium beard grooming scissors employ VG10 or M390 alloys. These steels undergo multiple hardening cycles, creating micro-carbides that hold an edge through thousands of cuts. Technical documentation from BÖHLER, a leading steel manufacturer, explains how nitrogen-alloyed M390 resists corrosion from oils, water, and skin acids whilst maintaining a Rockwell hardness above 60 HRC-the threshold for professional-grade performance.
When you choose inferior tools, you're not saving money. You're paying twice: once for the scissors, again for the beard repair products needed to salvage the damage.
The Solution: Engineering Precision Into Every Cut
Professional beard grooming scissors combine metallurgy, geometry, and ergonomics into a single instrument. The blades measure 4.5 to 5.5 inches-long enough to cut through dense beards in single strokes, short enough to manoeuvre around the moustache and sideburns without obstruction. The cutting edge sits at a 45-degree bevel, slicing hair fibres cleanly rather than crushing them between parallel surfaces.
Blade Geometry: Why Convex Edges Outperform Bevelled
Two blade profiles dominate the scissor market: bevelled (traditional) and convex (Japanese-style). Bevelled edges feature a V-shaped grind that creates a micro-serration. These teeth grab hair but leave rough edges. Convex blades employ a continuous curve from spine to edge, producing a razor-smooth cut that seals the hair cuticle.
Convex blade advantages:
- Zero hair folding – The curved edge pushes fibres toward the cutting point rather than bending them
- Reduced hand fatigue – Less closing force required per cut (measured at 40% lower grip strength)
- Silent operation – No metallic scraping sound that indicates blade-on-blade friction
- Longer service intervals – Convex edges maintain sharpness 3× longer than bevelled equivalents
The trade-off? Convex scissors cost more upfront. Yet when you calculate cost-per-cut over the tool's lifespan, premium beard grooming scissors deliver better value than replacing cheap pairs every four months.
Handle Ergonomics: The Offset Revolution
Traditional scissors place both finger holes in a straight line, forcing your elbow outward at an unnatural angle. After ten minutes of detailed work, your shoulder aches. Offset handles rotate the thumb ring forward by 15-30 degrees, aligning your wrist with your forearm. This posture reduces muscle load and enables the precise control needed for gradient fading and detail trimming.
Look for these ergonomic features:
- Removable finger rests that adjust to your hand size
- Convex thumb rings that distribute pressure across a broader contact area
- Matte finish on handles to prevent slippage during wet trimming
- Adjustable tension screws that let you fine-tune blade alignment
District of Columbia Health Department barbering regulations mandate specific scissor maintenance protocols, including tension adjustment and regular cleaning-procedures impossible with fixed-rivet designs. Professional tools accommodate these requirements.
Steel Selection: Matching Alloy to Your Grooming Routine
Your environment dictates steel choice. Humid coastal climates demand maximum corrosion resistance; VG10 or M390 steels excel here. Dry inland conditions tolerate 440C stainless, which costs less whilst still outperforming 420-grade alternatives. ScissorPedia's metallurgy reference provides detailed comparisons of carbon content, chromium levels, and heat-treatment outcomes for each alloy family.
Maintenance Requirements by Steel Type
Different alloys demand different care routines:
| Steel Alloy | Cleaning Frequency | Oil Type | Sharpening Interval | Special Considerations |
|---|---|---|---|---|
| 440C | After each use | Light machine oil | 6-8 months | Wipe dry immediately; prone to water spots |
| VG10 | After each use | Camellia oil preferred | 10-12 months | Can tolerate brief moisture exposure |
| M390 | Weekly deep clean | Any non-acidic oil | 14-18 months | Requires diamond hones for sharpening |
The sharpening interval matters. If you trim your beard three times weekly, 440C scissors will need professional servicing twice per year. VG10 extends that to annual maintenance. M390 might go eighteen months between sharpenings-but when service time arrives, you'll need a specialist familiar with super-hard alloys. Drill Doctor's sharpening guide explains why attempting to sharpen premium scissors with standard stones damages the edge geometry.
For daily users, VG10 offers the optimal balance: exceptional performance without specialist maintenance requirements.
Technique: Transforming Tools Into Results
Owning precision beard grooming scissors means nothing if your technique undermines their capabilities. The fundamental rule: cut conservatively. Remove 2-3mm per pass, assess the result, then decide whether another pass is needed. Hair cannot be reattached; restraint protects against over-trimming.
The Three-Phase Trimming System
Professional barbers divide beard trimming into distinct phases, each requiring different scissor techniques:
Phase 1: Bulk Reduction
Comb your beard downward to expose the longest outliers. Hold scissors parallel to the floor, blades pointed toward your ear. Make small vertical snips, removing only the hairs that extend beyond your target length. Work from ear to chin, then chin to opposite ear. This phase establishes your perimeter.
Phase 2: Gradient Blending
Switch to point-cutting: hold scissors at a 45-degree angle to the hair shaft and make small, quick cuts into the beard's surface. This technique removes length without creating blunt lines. Focus on transition zones-where your moustache meets cheek hair, where sideburns fade into the beard body. Healthline's beard maintenance guide emphasises that blending prevents the "glued-on" appearance that betrays amateur grooming.
Phase 3: Detail Refinement
Address individual problem hairs: the rogue whisker that grows straight out from your cheek, the curly chin hair that refuses to lie flat, the moustache strands that tickle your lip. Use the scissor tips (the front 10mm of the blade) for precision work. Support each hair with your comb, then snip whilst the hair is under slight tension. This prevents the hair from jumping away from the blade.
Safety Protocols: Protecting Skin and Tools
Never cut freehand near your upper lip or Adam's apple. These areas contain thin skin over cartilage-one slip creates cuts that bleed profusely. Always place your comb between scissors and skin, using the comb teeth as a guide and a barrier.
After each session, clean your beard grooming scissors with isopropyl alcohol to remove oils, dead skin cells, and bacteria. Medical research on beard hygiene identifies bacterial colonisation as a risk factor for folliculitis and beard alopecia-conditions that compromise growth and appearance. Contaminated tools spread these pathogens with each cut.
Store scissors in a dry case, tips pointed downward. Gravity pulls any residual moisture away from the pivot screw, preventing rust formation in the tension mechanism.
Building Your Complete Grooming System
Scissors are the centrepiece, but surrounding tools multiply their effectiveness. A high-quality beard comb with seamless teeth prevents snagging and static. A boar-bristle brush distributes natural oils and trains hair to grow in your desired direction. Together, these tools prepare your beard for precise scissor work.
Once you've shaped your beard with surgical precision, the next step is nourishment. Natural products lock in moisture, strengthen hair shafts, and create the pliable texture that responds to scissor cuts rather than resisting them. Onesociety's approach combines science-backed active ingredients with clean formulations-no silicones that coat hair and dull blades, no synthetic fragrances that irritate skin.
The 90-Day Beard Challenge packages eight complementary formulas into a single transformation kit. Beard Booster stimulates follicle blood flow, accelerating growth in sparse areas. Beard Butter delivers overnight hydration that prevents the brittleness which causes split ends. The Hydro-Lock Balm seals moisture whilst providing medium hold-enough to keep trimmed edges in place without stiffness. When your beard receives proper nutrition, each scissor cut produces cleaner results that last longer between maintenance sessions.

Why Hydration Amplifies Scissor Performance
Dry hair resists cutting. The brittle shaft splinters rather than separating cleanly, creating the frayed ends that undo your precise work within 48 hours. Moisturised hair flexes under blade pressure, allowing the edge to slice through in a single action. University of Utah Health's facial hair care guidance recommends conditioning treatments before trimming to optimise cut quality and minimise hair damage.
This principle extends to your skin. Inflammation beneath the beard creates irregular follicle angles, causing hair to emerge at unpredictable trajectories. When you attempt to trim inflamed areas, the chaotic growth pattern forces you into corrective cuts that shorten surrounding hair, creating depressions. Anti-inflammatory ingredients-shea butter's fatty acids, jojoba oil's vitamin E-calm the skin, normalising growth patterns so your scissors can follow consistent lines.
Advanced Techniques: Specialised Cuts for Specific Beard Styles
Different styles demand different scissor approaches. A full beard requires bulk management and perimeter definition. A Van Dyke needs precision moustache work and goatee sculpting. A Balbo style involves negative space-the areas you remove define the style as much as what remains.
Sculpting the Moustache: The Most Technical Cut
Moustache trimming separates novices from experts. The hairs grow in a radial pattern from the philtrum (the vertical groove between nose and upper lip), creating a natural part. Cutting against this grain produces uneven length; following it enables symmetrical results.
Step-by-step moustache protocol:
- Comb moustache straight down over your upper lip
- Position scissors horizontally, blades parallel to your lip line
- Cut conservatively-remove only hair that extends past your lip
- Comb moustache to the side, following natural growth direction
- Use point-cutting to thin dense areas without removing length
- Check symmetry by pressing both sides flat against your face
The moustache requires weekly maintenance, whilst the full beard may only need fortnightly sessions. Keep a dedicated pair of 4-inch beard grooming scissors for moustache detail work-the shorter blades provide superior control in tight spaces.
Creating Fade Transitions Without Clippers
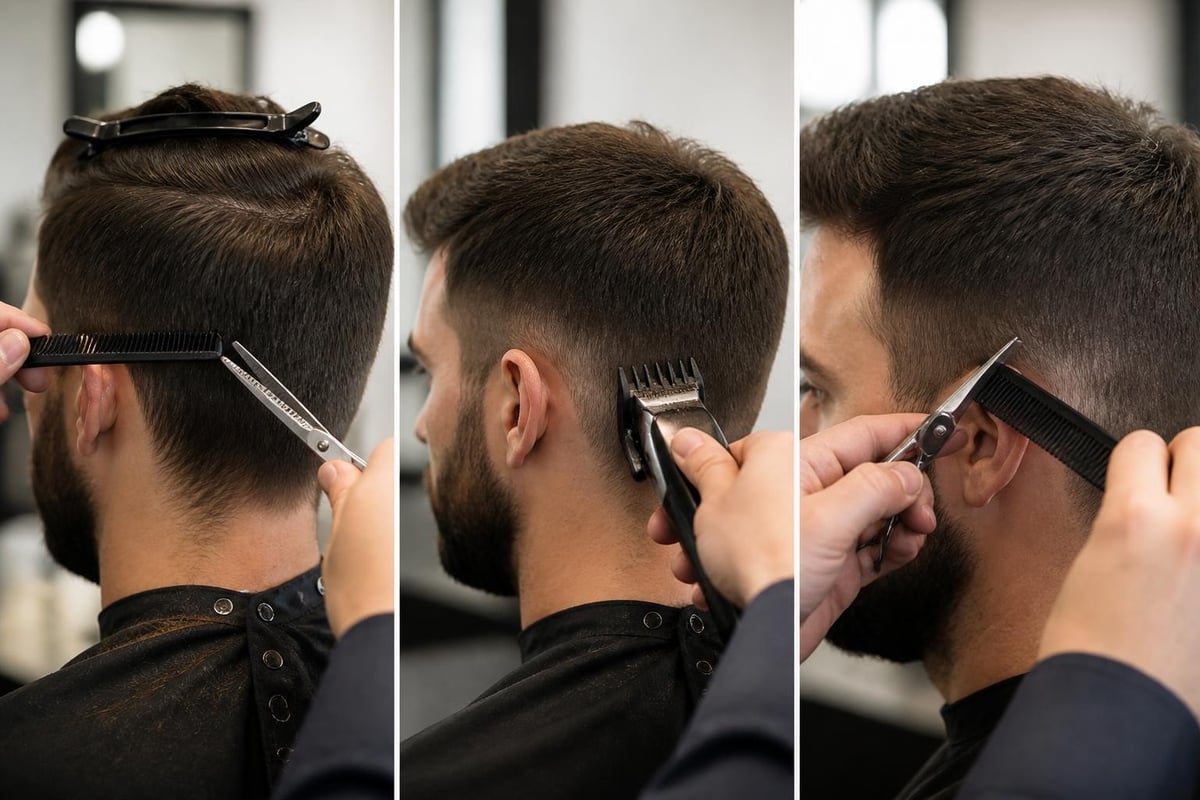
Clippers excel at skin fades on scalp hair but struggle with beard density variations. Scissors offer an alternative: the "scissor-over-comb" technique borrowed from classic barbering. Slide your comb upward through the beard at your desired fade angle. The teeth lift hair perpendicular to the skin. Cut the hair that protrudes above the comb, working in 5mm increments up toward your ear.
This method requires patience. A full fade might take 20 minutes versus 5 with clippers. The payoff? Softer transitions, no clipper lines, and complete control over graduation angle.
Maintenance Mastery: Extending Tool Lifespan
Professional scissors last decades when properly maintained. The pivot screw is the critical component-it controls blade tension and alignment. Too loose, and the blades separate during cuts, bending hair instead of cutting it. Too tight, and you'll strain your hand whilst accelerating wear on the contact surfaces.
The Quarter-Turn Rule
Test tension by holding scissors vertically, one handle in your palm. Open the blades to 45 degrees, then release. The top blade should fall slowly to closed, taking 2-3 seconds. If it drops instantly, tighten the tension screw by one-quarter turn clockwise. If it sticks open, loosen by one-quarter turn counter-clockwise. Repeat until you achieve the slow-fall behaviour.
Check tension monthly. As the blade contact surfaces wear microscopically, the optimal tension setting changes. Professional scissor maintenance guides recommend recording your tension setting (count the screw turns from fully loose) so you can return to that baseline after cleaning.
Oil Application: The Right Type Matters
Never use cooking oil, WD-40, or general-purpose lubricants on beard grooming scissors. These products contain additives that attract dust, gum up the pivot mechanism, or react with stainless steel alloys. Use camellia oil (traditional Japanese choice), mineral oil (readily available), or specialised scissor oil (pre-filtered for purity).
Apply one drop to the pivot screw. Open and close the blades ten times to distribute oil across the contact surfaces. Wipe excess with a lint-free cloth. Monthly oiling prevents metal-on-metal wear that degrades cutting performance.
Choosing Your First Professional Pair
Entry into professional-grade beard grooming scissors begins around £60. This price point unlocks 440C stainless steel, offset ergonomic handles, and convex edges-the features that separate tools from toys. Moving to £120-180 accesses VG10 steel and refined balance. Above £200, you're paying for M390 alloys, custom fitting services, and brand prestige.
For most beardsmen, the £80-120 range delivers optimal value. You receive professional metallurgy and ergonomics without the diminishing returns of ultra-premium tiers. Brands in this segment typically offer warranty coverage and sharpening services-essential for long-term ownership.
Your evaluation checklist:
- Steel type clearly marked (avoid "stainless steel" without grade specification)
- Adjustable tension screw (not a fixed rivet)
- Offset handle design with removable finger rest
- Convex blade profile (check the cutting edge curve)
- Manufacturer warranty of at least one year
- Case included (protective storage prevents edge damage)
Test the scissors in-shop if possible. Open and close them twenty times. Do the handles pinch? Does the thumb ring rotate uncomfortably? Does closing require excessive force? Discomfort during testing magnifies into pain during actual use.
Integration With Your Grooming Routine
Scissors work best within a structured routine that addresses both hair and skin. Begin each session by washing your beard with a pH-balanced cleanser that removes oil buildup without stripping natural moisture. Pat semi-dry-damp hair cuts more cleanly than fully dry hair, which generates static and splays unpredictably.
Apply a leave-in conditioner or pre-trim oil. This step accomplishes two goals: it adds slip that helps scissors glide through dense sections, and it temporarily weighs down curly hair, revealing its true length. Many beardsmen discover they have more length than expected once curls relax.
Comb through completely, detangling any knots. Scissors snag on tangles, creating uneven cuts and damaging the blade edge. Invest two minutes in thorough combing to save ten minutes of corrective trimming.
After cutting, rinse away loose hairs, then apply your regular beard oil or balm. The freshly cut edges absorb product readily, sealing the cuticle and preventing split-end formation. Understanding how beard oil functions reveals why post-trim application maximises product efficacy-the open cuticles created by cutting offer temporary windows for deep penetration.
Storage and Hygiene: Professional Standards at Home
Barbershop regulations exist for good reasons: public health guidance mandates sterilisation protocols that prevent cross-contamination and infection. Whilst you're only cutting your own beard, the principles still apply. Bacteria colonise scissor blades during use; if left uncleaned, they multiply and transfer back to your beard during the next session.
After each use:
- Brush loose hairs from the blades with a soft toothbrush
- Spray blades with 70% isopropyl alcohol
- Wipe dry with microfibre cloth
- Apply one drop of oil to the pivot
- Store in a protective case, tips down
Monthly deep cleaning involves disassembling the scissors (if your model allows) and cleaning the pivot area with cotton swabs. This removes accumulated oils and skin cells that degrade the tension mechanism. Reassemble, adjust tension, and test-cut before returning to storage.
Never store scissors in the bathroom cabinet unless it's climate-controlled. Steam from showers introduces moisture that promotes rust, even on stainless steel. A bedroom drawer or dedicated grooming kit case provides the dry environment that preserves blade integrity.
The Economic Case: Cost Per Trim Analysis
A professional beard trim at a reputable barber costs £15-25 in 2026. Visiting monthly totals £180-300 annually. Quality beard grooming scissors priced at £100 pay for themselves in four to seven months. Over a five-year lifespan (conservative estimate for well-maintained professional scissors), you save £800-1,400 whilst gaining the flexibility to trim on your schedule.
This calculation excludes intangible benefits: the confidence of knowing your beard looks intentional every day, not just the day after a barber visit. The ability to make micro-adjustments before important meetings or social events. The satisfaction of mastering a craft rather than depending on others' availability.
For beardsmen committed to long-term facial hair cultivation, professional scissors transition from luxury to necessity. They're infrastructure-an investment that pays daily dividends in appearance, convenience, and control.
Common Mistakes and How to Avoid Them
Even with premium beard grooming scissors, poor technique undermines results. The most frequent error? Cutting dry hair. Dry whiskers stand rigid, bouncing away from blade contact. They also generate static that causes adjacent hairs to repel, creating false gaps in coverage. Always dampen your beard before trimming sessions.
Second mistake: rushing. Beard trimming demands methodical pacing. Each snip requires assessment: did you remove the intended length? Has the symmetry shifted? Do you need compensatory cuts elsewhere? Professionals spend 15-20 minutes on a full beard trim because they pause between cuts. Amateurs finish in five minutes, then spend five weeks regrowing the sections they removed in haste.
Third mistake: ignoring the neckline. Your beard's lower boundary defines jaw structure. Cutting too high creates a "chin strap" effect that weakens your profile. Cutting too low looks unkempt. The correct line follows your jaw's natural curve, about two fingers above your Adam's apple. Use scissors to taper this transition rather than creating a sharp demarcation.
Fourth mistake: comparing yourself to images online. Professional beard photography involves backlighting, oil application, blow-drying, and strategic combing to create volume that doesn't exist in normal conditions. Your bathroom mirror shows reality. Trim to your actual growth pattern and face shape, not to idealised social media representations.
Pairing Tools With Products for System Synergy
The relationship between beard grooming scissors and maintenance products runs deeper than sequential use. Products alter hair structure, which changes how scissors interact with each strand. Heavy balms add weight that temporarily straightens curly hair, enabling more accurate length assessment. Light oils reduce friction, allowing blades to slice rather than push hair aside.
Understanding what beard balm does reveals why timing matters. Apply balm before trimming if you want to see how your styled beard will look-the hold shows you which hairs disrupt your desired shape. Apply balm after trimming if you want maximum precision-unstyled hair reveals true length variations that styling products might hide.
This principle extends to washing frequency. Over-washing strips oils that provide the slip needed for clean cuts. Under-washing creates buildup that dulls scissor edges prematurely. Most beardsmen find equilibrium at 2-3 washes weekly, using a gentle cleanser that preserves natural sebum whilst removing environmental pollutants.
The complete grooming system includes tools (scissors, combs, brushes) and products (cleansers, conditioners, styling agents) working in concert. Neither category substitutes for the other; both enhance each other's effectiveness. Your scissors deliver precision. Your products provide the foundation that makes precision possible and permanent.
When to Replace vs. Sharpen
Professional sharpening costs £15-25 per session. If your scissors cost £40, sharpening twice equals the original purchase price-at which point replacement becomes economical. If your scissors cost £150, sharpening ten times still leaves you ahead financially.
The decision matrix:
- Scissors under £50: Replace when dull
- Scissors £50-100: Sharpen once, replace after second dulling
- Scissors over £100: Sharpen regularly, replace only if damaged
Sharpening restores the cutting edge but cannot repair bent blades, stripped tension screws, or corroded pivot points. Inspect your scissors quarterly for these failure modes. Bent blade tips (often from dropping scissors) create gaps that prevent clean cutting near the points. Stripped tension screws spin freely without tightening. Corroded pivots stick during opening, then pop loose-a safety hazard when cutting near your face.
Quality manufacturers stand behind their products. If structural failure occurs within the warranty period, contact the seller for replacement. If failure occurs post-warranty due to manufacturing defects, many brands still honour repairs-their reputation depends on long-term reliability.
Mastering beard grooming scissors transforms your daily routine from reactive maintenance to proactive sculpting. You control length, shape, and style with surgical precision, adjusting details that electric tools simply cannot address. When you pair professional scissors with science-backed nutrition products, you create the complete system that legendary beards require. Onesociety delivers those products-from follicle-igniting boosters to hydro-lock balms-all formulated with natural ingredients and backed by research. Start your transformation today at Onesociety and discover how proper tools plus proper nutrition unlock your beard's full potential.